Mounting Instructions for JR-3 Speed-Reeder Bracket
|
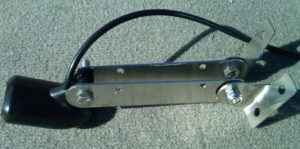
1. For new Installations, follow your Electronic Manual for selecting the proper location to mount your transducer. 2. Install the High Speed Transducer onto the long Swing Arm portion of the Johnny Ray Bracket using the bolt(s) and associated washers as provided in the OEM Bracket assembly. Do Not Tighten completely at this point. Transom Tabs on the Speed Reeder Bracket can be turned inward or outward, depending on size or location of the mounting area on the transom. |
 |
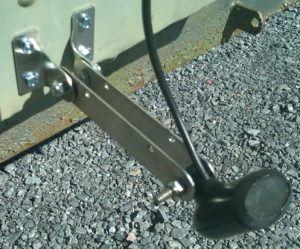
| 3. Locate the assembly onto the selected boat location with the swing arm portion located at the bottom, and secure with the appropriate fasteners of your choice. It is safe to re-drill the transom bracket to match existing holes in transom for retro-fitting this bracket.
4. Gently Tighten the hardware on the Johnny Ray Bracket Swing Arms to simulate transducer height Follow OEM guidelines for setting depth of Transducer to hull bottom relationship as described in your Electronic Manual. |
 |
|
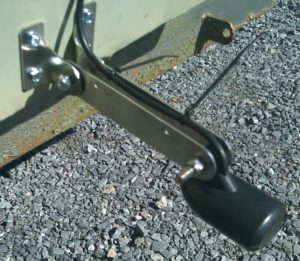
5. Once height setting is achieved, securely tighten all Swing Arm fasteners and Transducer Fasteners. Secure Transducer Power Cord to the small holes in Swing Arm with supplied zip cables. 6. Test run your boat. Some slight adjustments may be needed until optimum performance is achieved. Note: Too deep of a setting can cause excessive water spray at speed, while too shallow of a setting will cause a No-Read Situation. Correct Vertical Setting will result in minimal spray, while eliminating No Read Condition at speed or while cornering. |
 |
